Using API Catalog
Using API Catalog
As an application developer, use the API Catalog to view what services are running in the
API Mediation Layer. Through the API Catalog, you can also view the associated API documentation
corresponding to a service, descriptive information about the service, and the current state
of the service. The tiles in the API Catalog can be customized by changing values in
the apiml.catalog.tile section defined in the application.yml of a service. A microservice that
is onboarded to the API Mediation Layer and configured appropriately, registers automatically with the API Catalog
and a tile for that service is added to the Catalog.
Note: For more information about how to configure the API Catalog in the application.yml, see: Add API Onboarding Configuration.
API Versioning
See API Catalog and Versioning for more information about the API versioning.
View Service Information and API Documentation in the API Catalog
Use the API Catalog to view services, API documentation, descriptive information about the service, the current state of the service, service endpoints, and detailed descriptions of these endpoints.
Note: Verify that your service is running. At least one started and registered instance with the Discovery Service is needed for your service to be visible in the API Catalog.
Follow these steps:
-
Use the search bar to find the service that you are looking for. Services that belong to the same product family are displayed on the same tile.
Example:
Sample Applications, Endevor, SDK Application -
Click the tile to view header information, the registered services under that family ID, and API documentation for that service.
Notes:
- The state of the service is indicated in the service tile on the dashboard page. If no instances of the service are currently running, the tile displays a message that no services are running.
- At least one instance of a service must be started and registered with the Discovery Service for it to be visible in the API Catalog. If the service that you are onboarding is running, and the corresponding API documentation is displayed, this API documentation is cached and remains visible even when the service and all service instances stop.
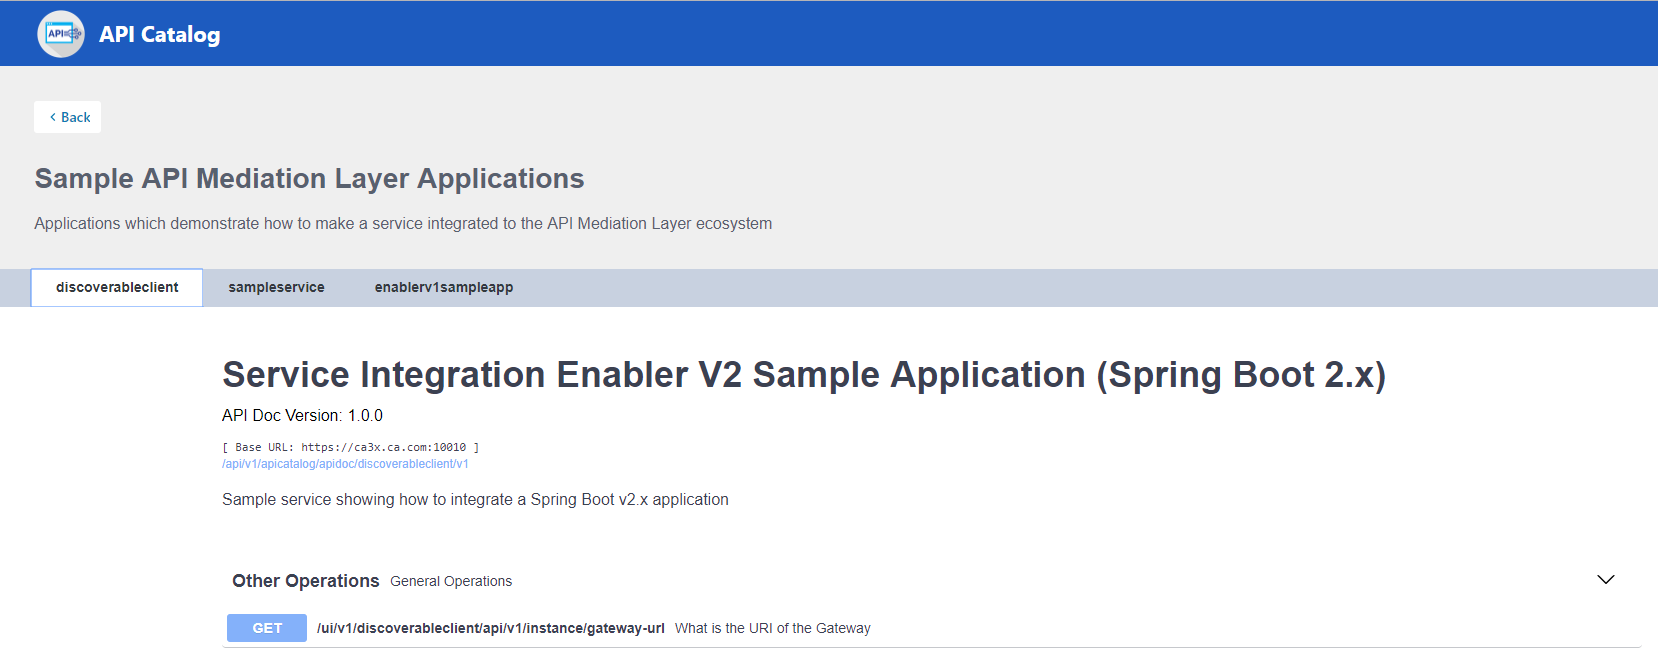
- Descriptive information about the service and a link to the home page of the service are displayed.
Example:
-
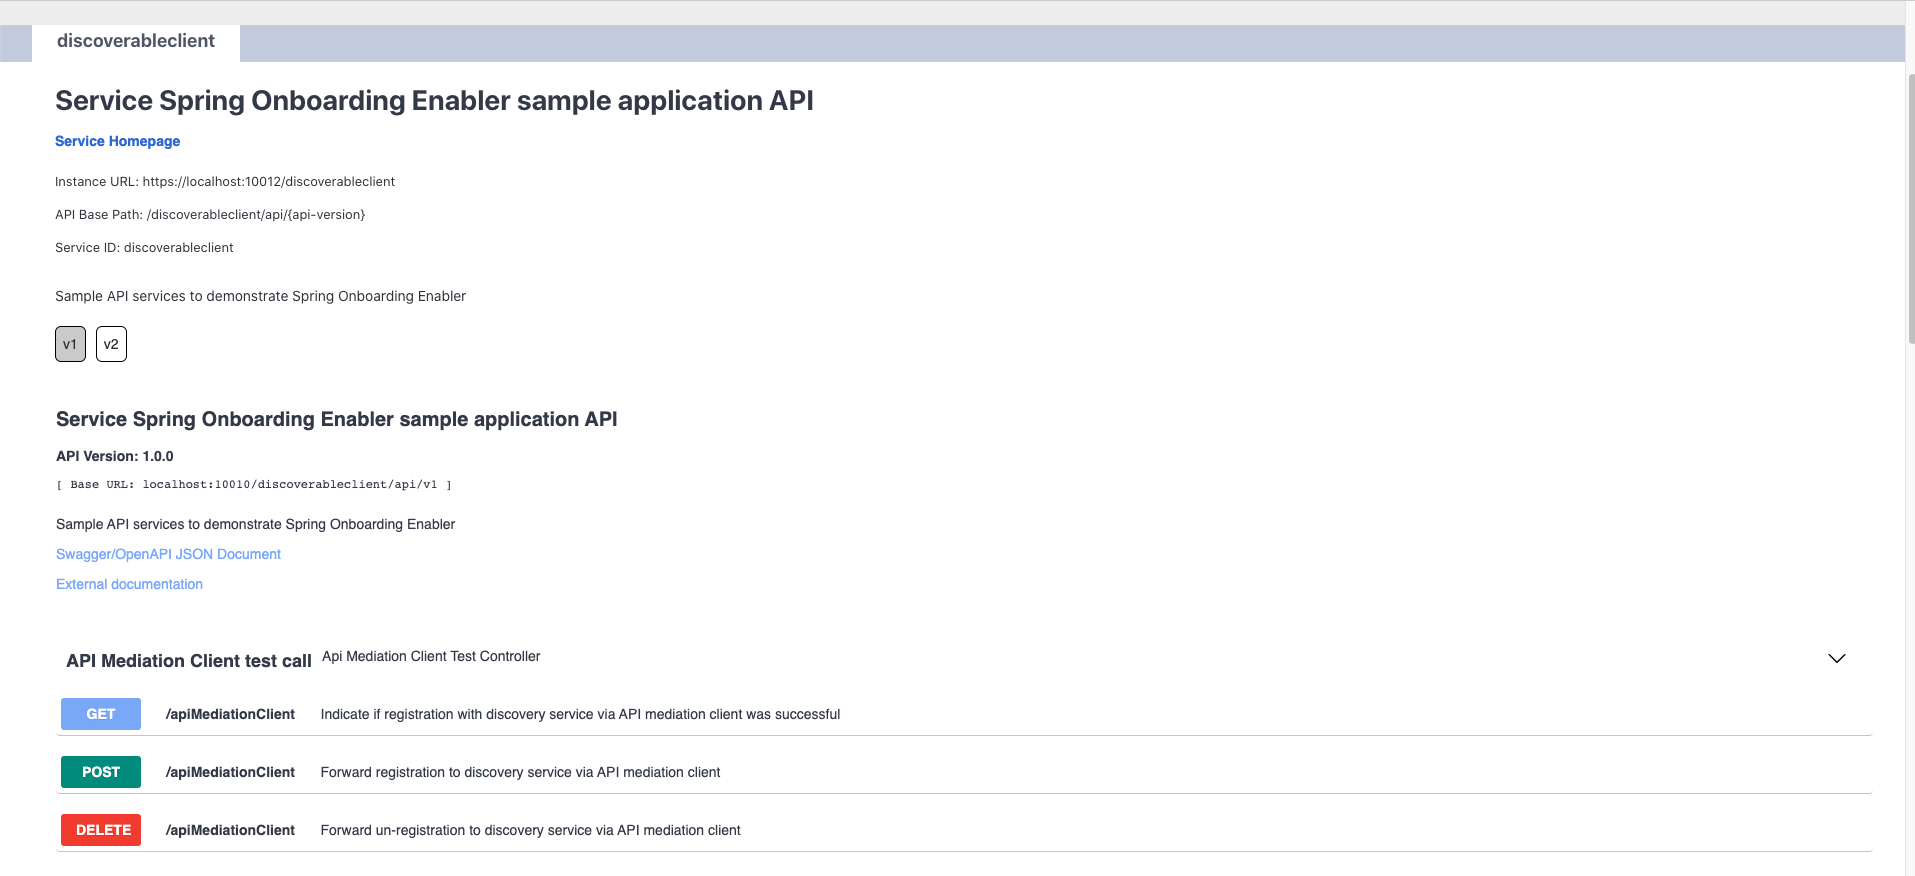
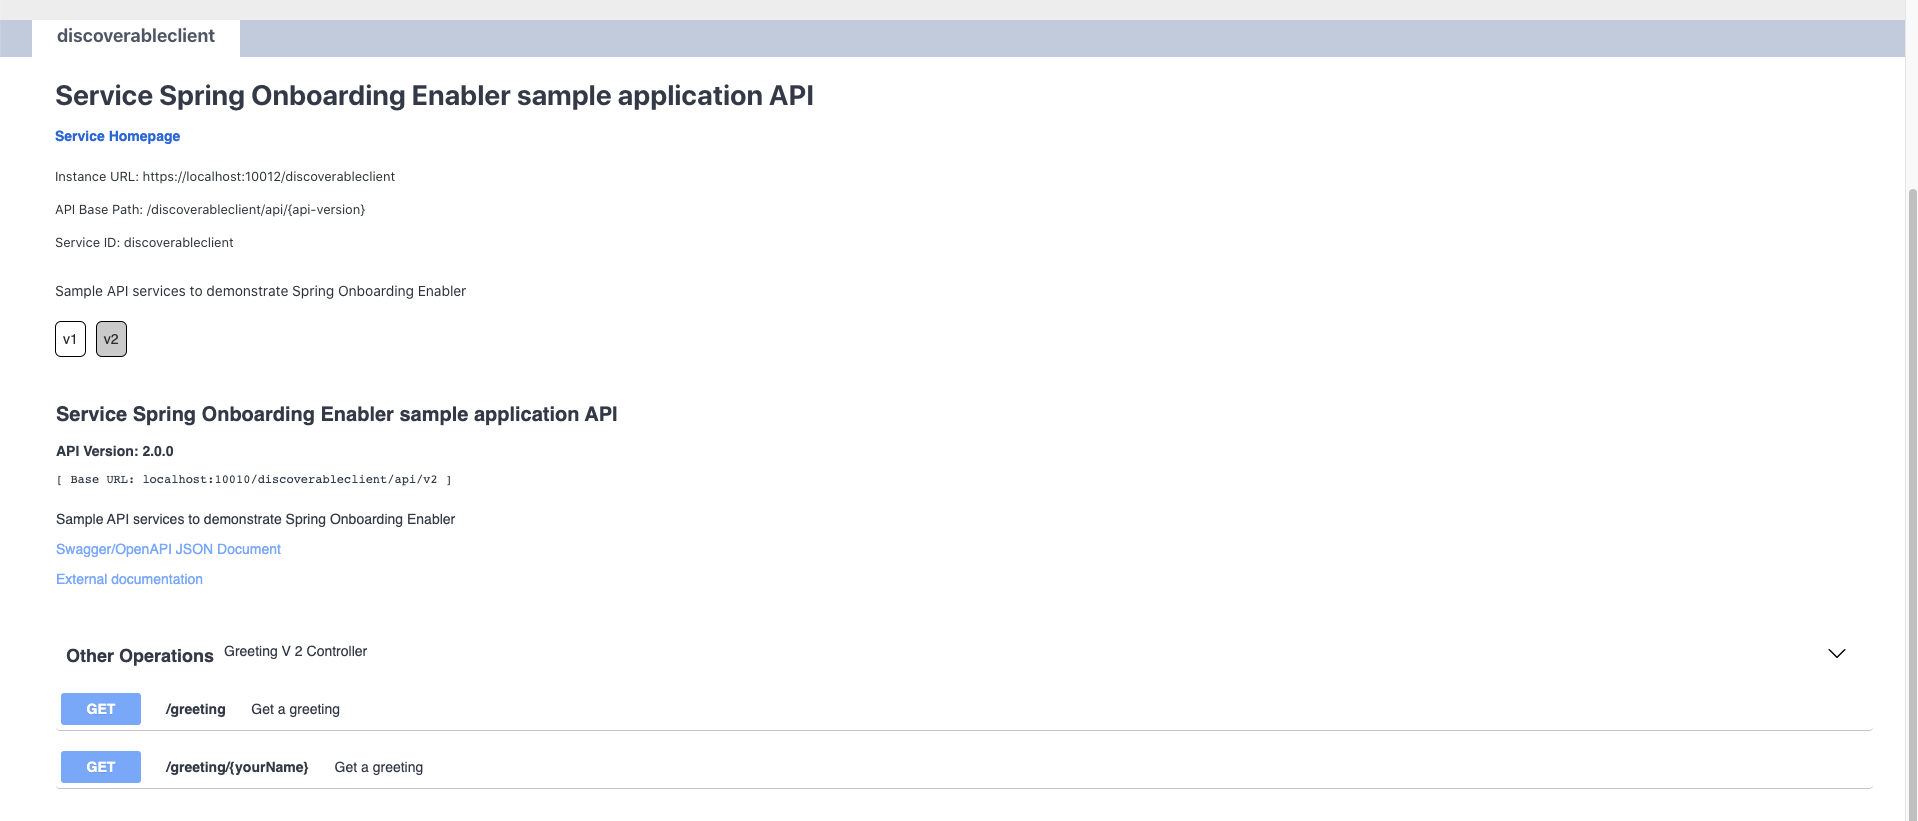
Select the version (v1, v2) to view the documentation of a specific API version.
Example:
-
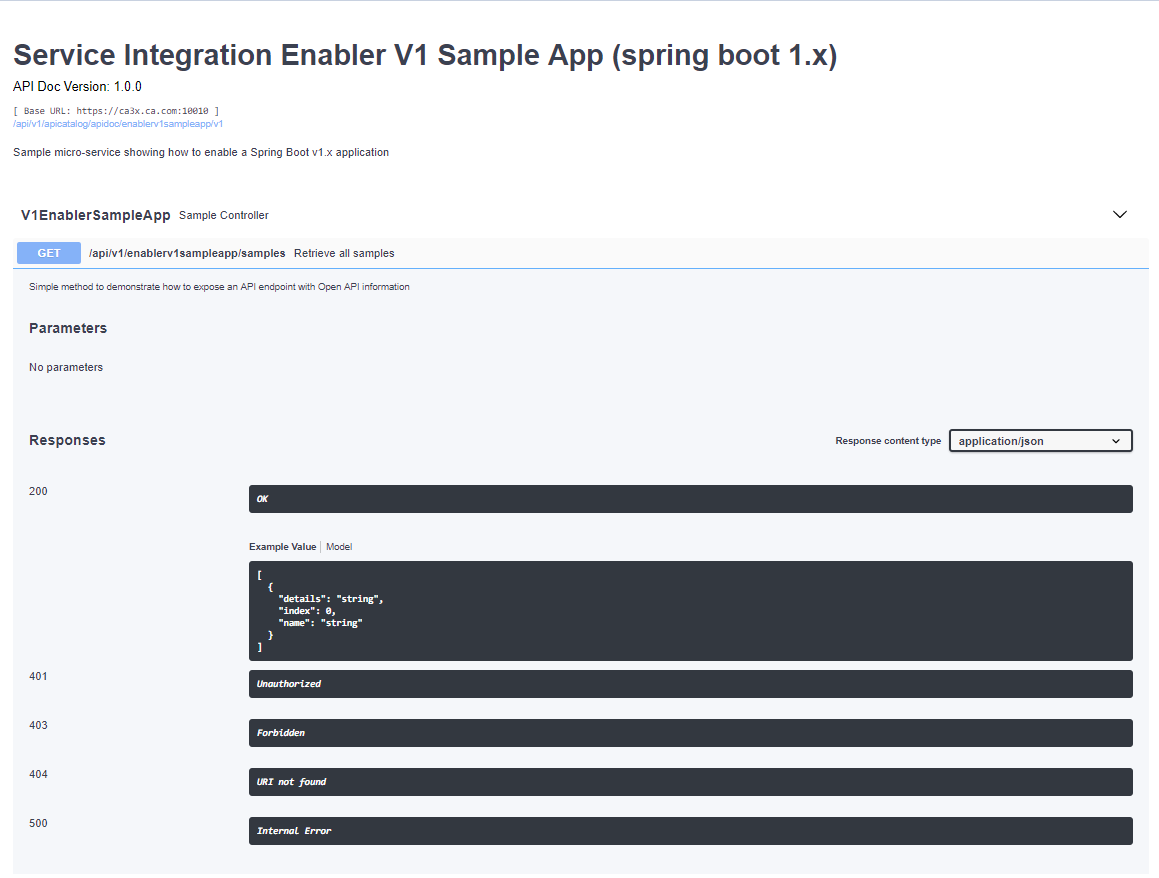
Expand the endpoint panel to see a detailed summary with responses and parameters of each endpoint, the endpoint description, and the full structure of the endpoint.
Example:
Notes:
- If a lock icon is visible on the right side of the endpoint panel, the endpoint requires authentication.
- The structure of the endpoint is displayed relative to the base URL.
- The URL path of the abbreviated endpoint relative to the base URL is displayed in the following format:
Example:
/api/v1/{yourServiceId}/{endpointName}The path of the full URL that includes the base URL is also displayed in the following format:
https://hostName:basePort/api/v1/{yourServiceId}/{endpointName}Both links target the same endpoint location.
Swagger "Try it out" functionality in the API Catalog
The API Catalog enables users to call service APIs through the Try it out functionality. There are 2 types of endpoints:
-
Public endpoints
Endpoints that are accessible without entering user credentials.
-
Protected endpoints
Endpoints that are only accessible by entering user credentials. These endpoints are marked with a lock icon.
Example:

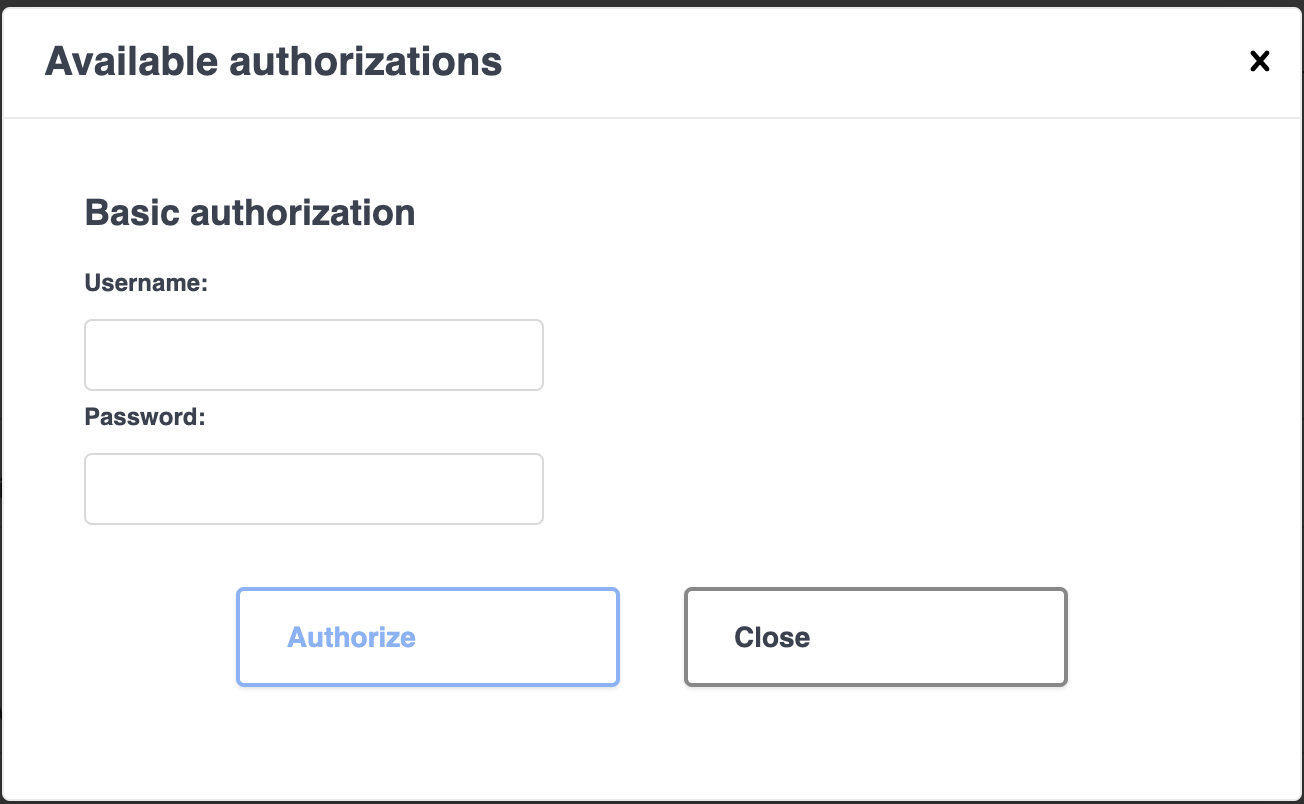
Note: Before making requests to protected endpoints, authorize your session by clicking the lock icon and complete the required information in the Authorization modal shown below:
Example:
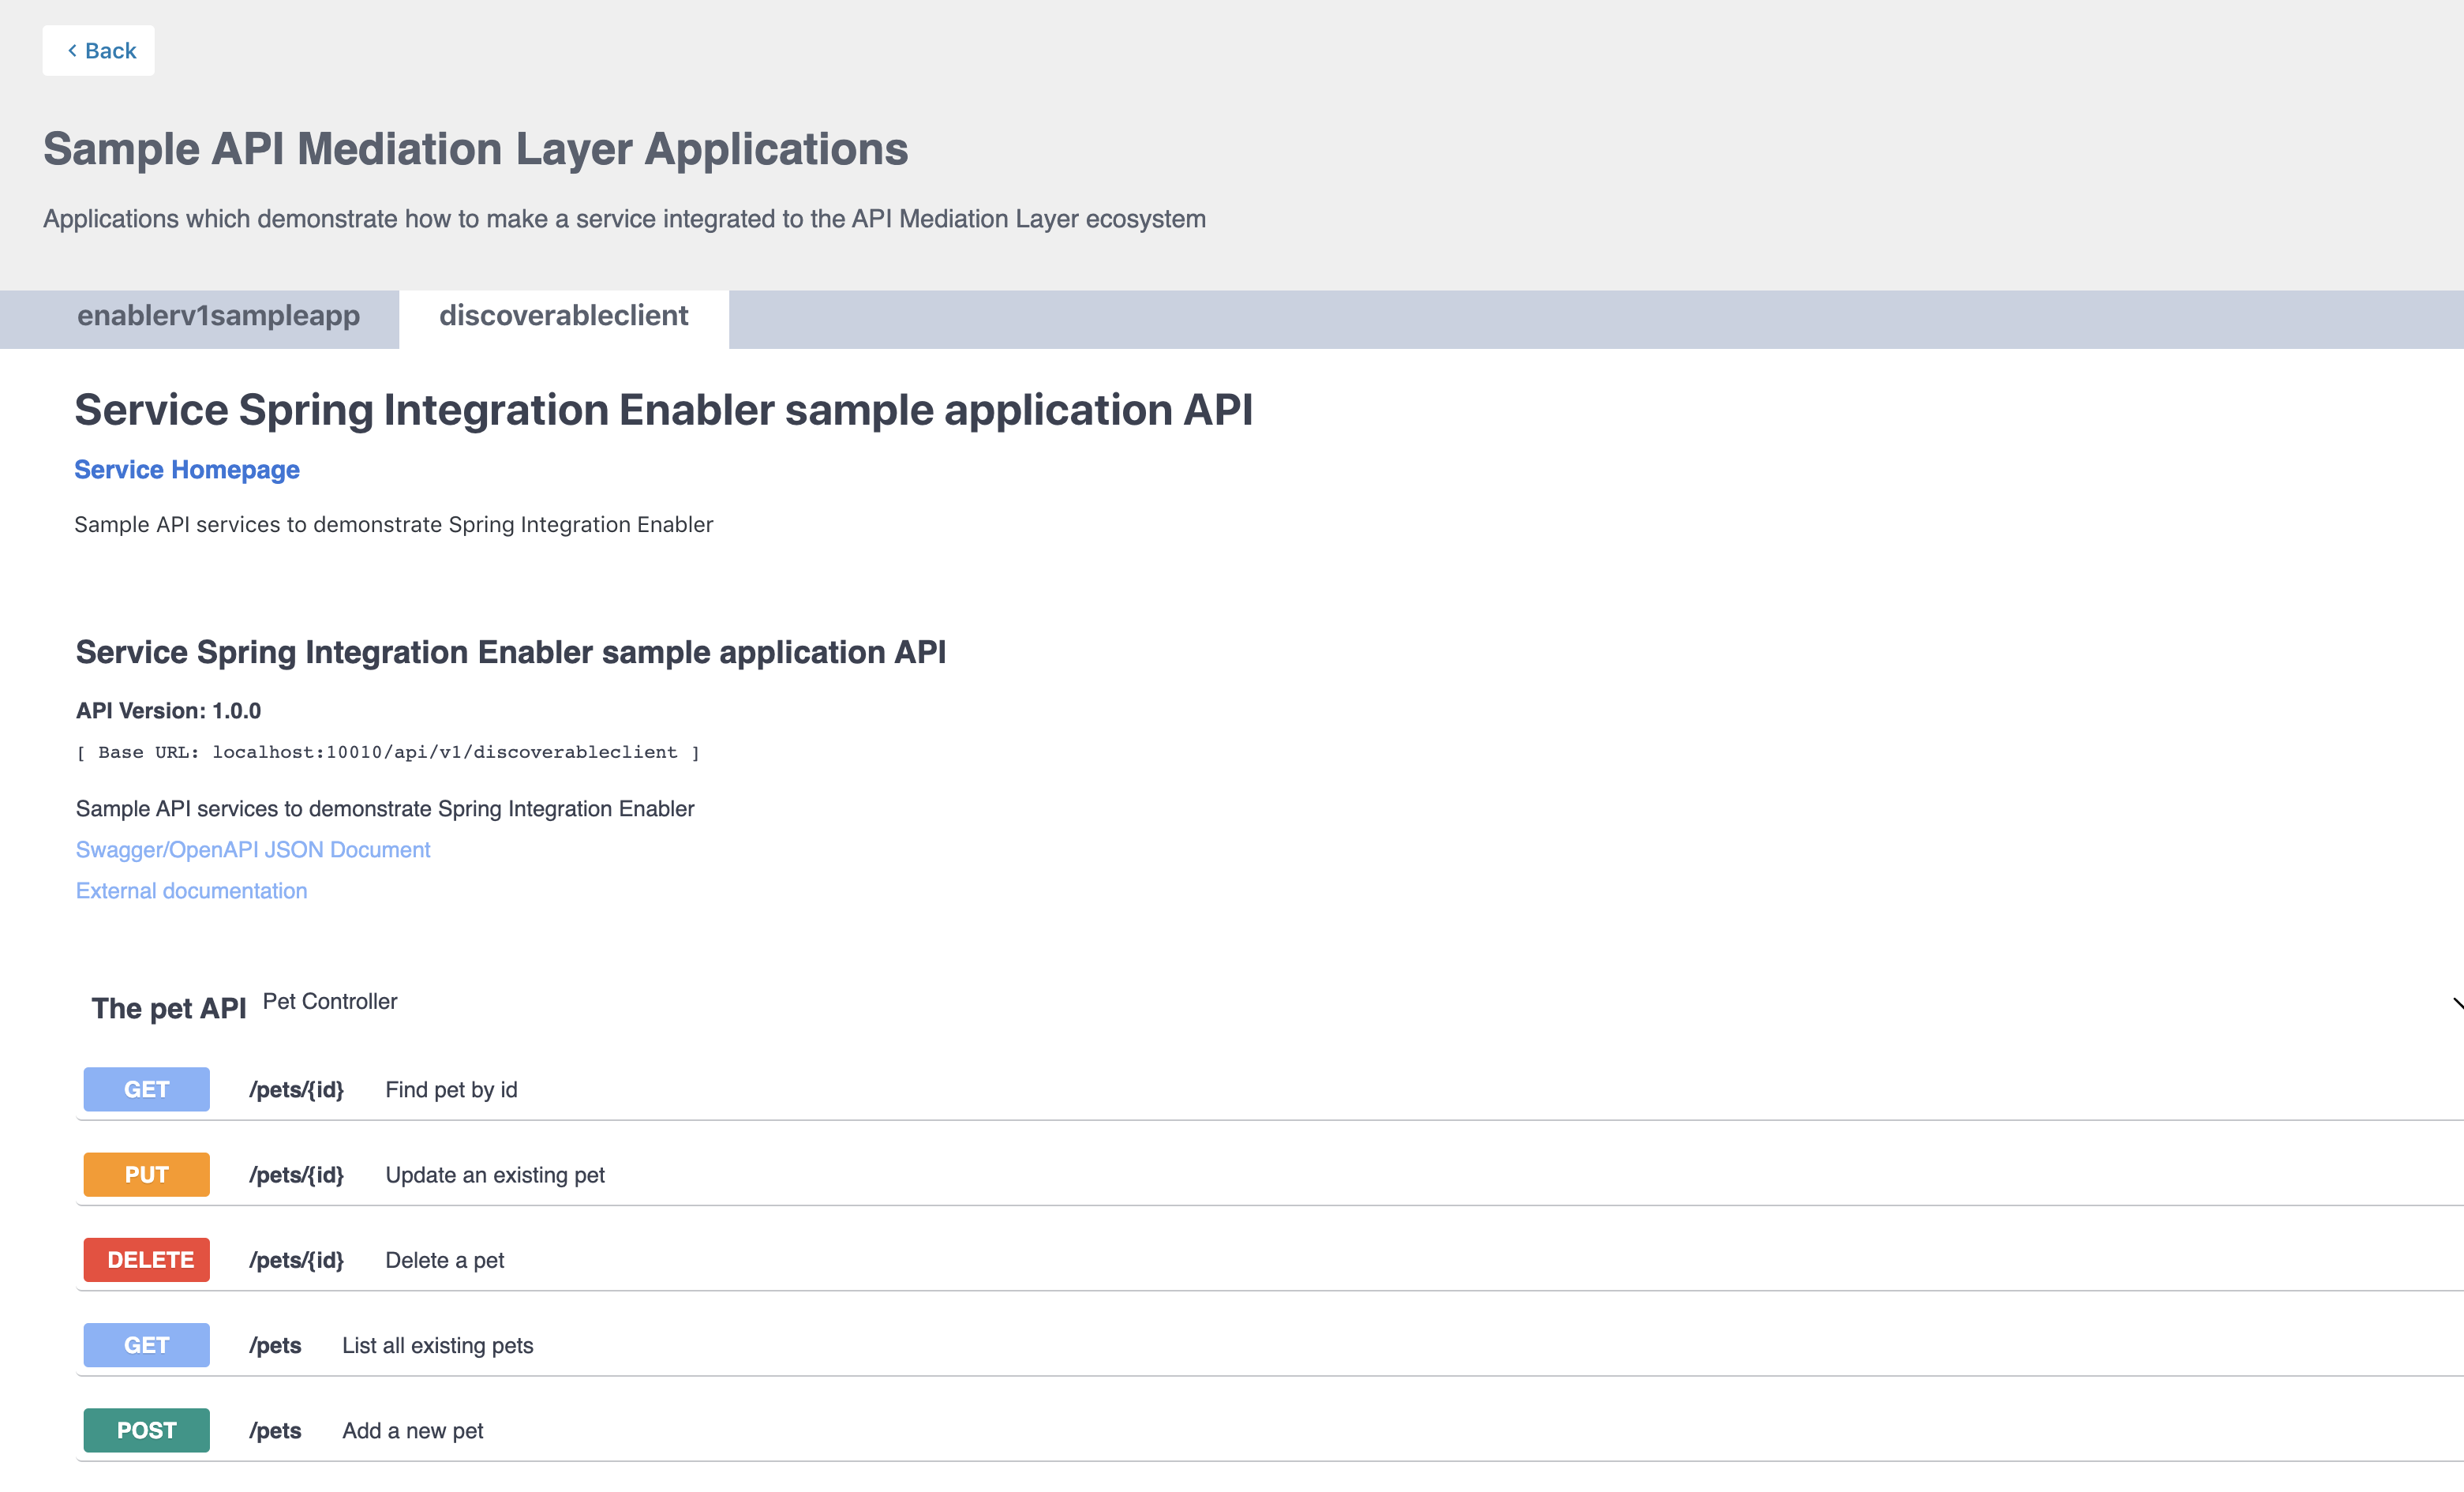
To demonstrate Try it out, we use the example of the Swagger Petstore.
Example:
Make a request
This section outlines the process for making a request.
Follow these steps:
-
Expand the POST Pet endpoint.
-
Click Try it out.
Example:
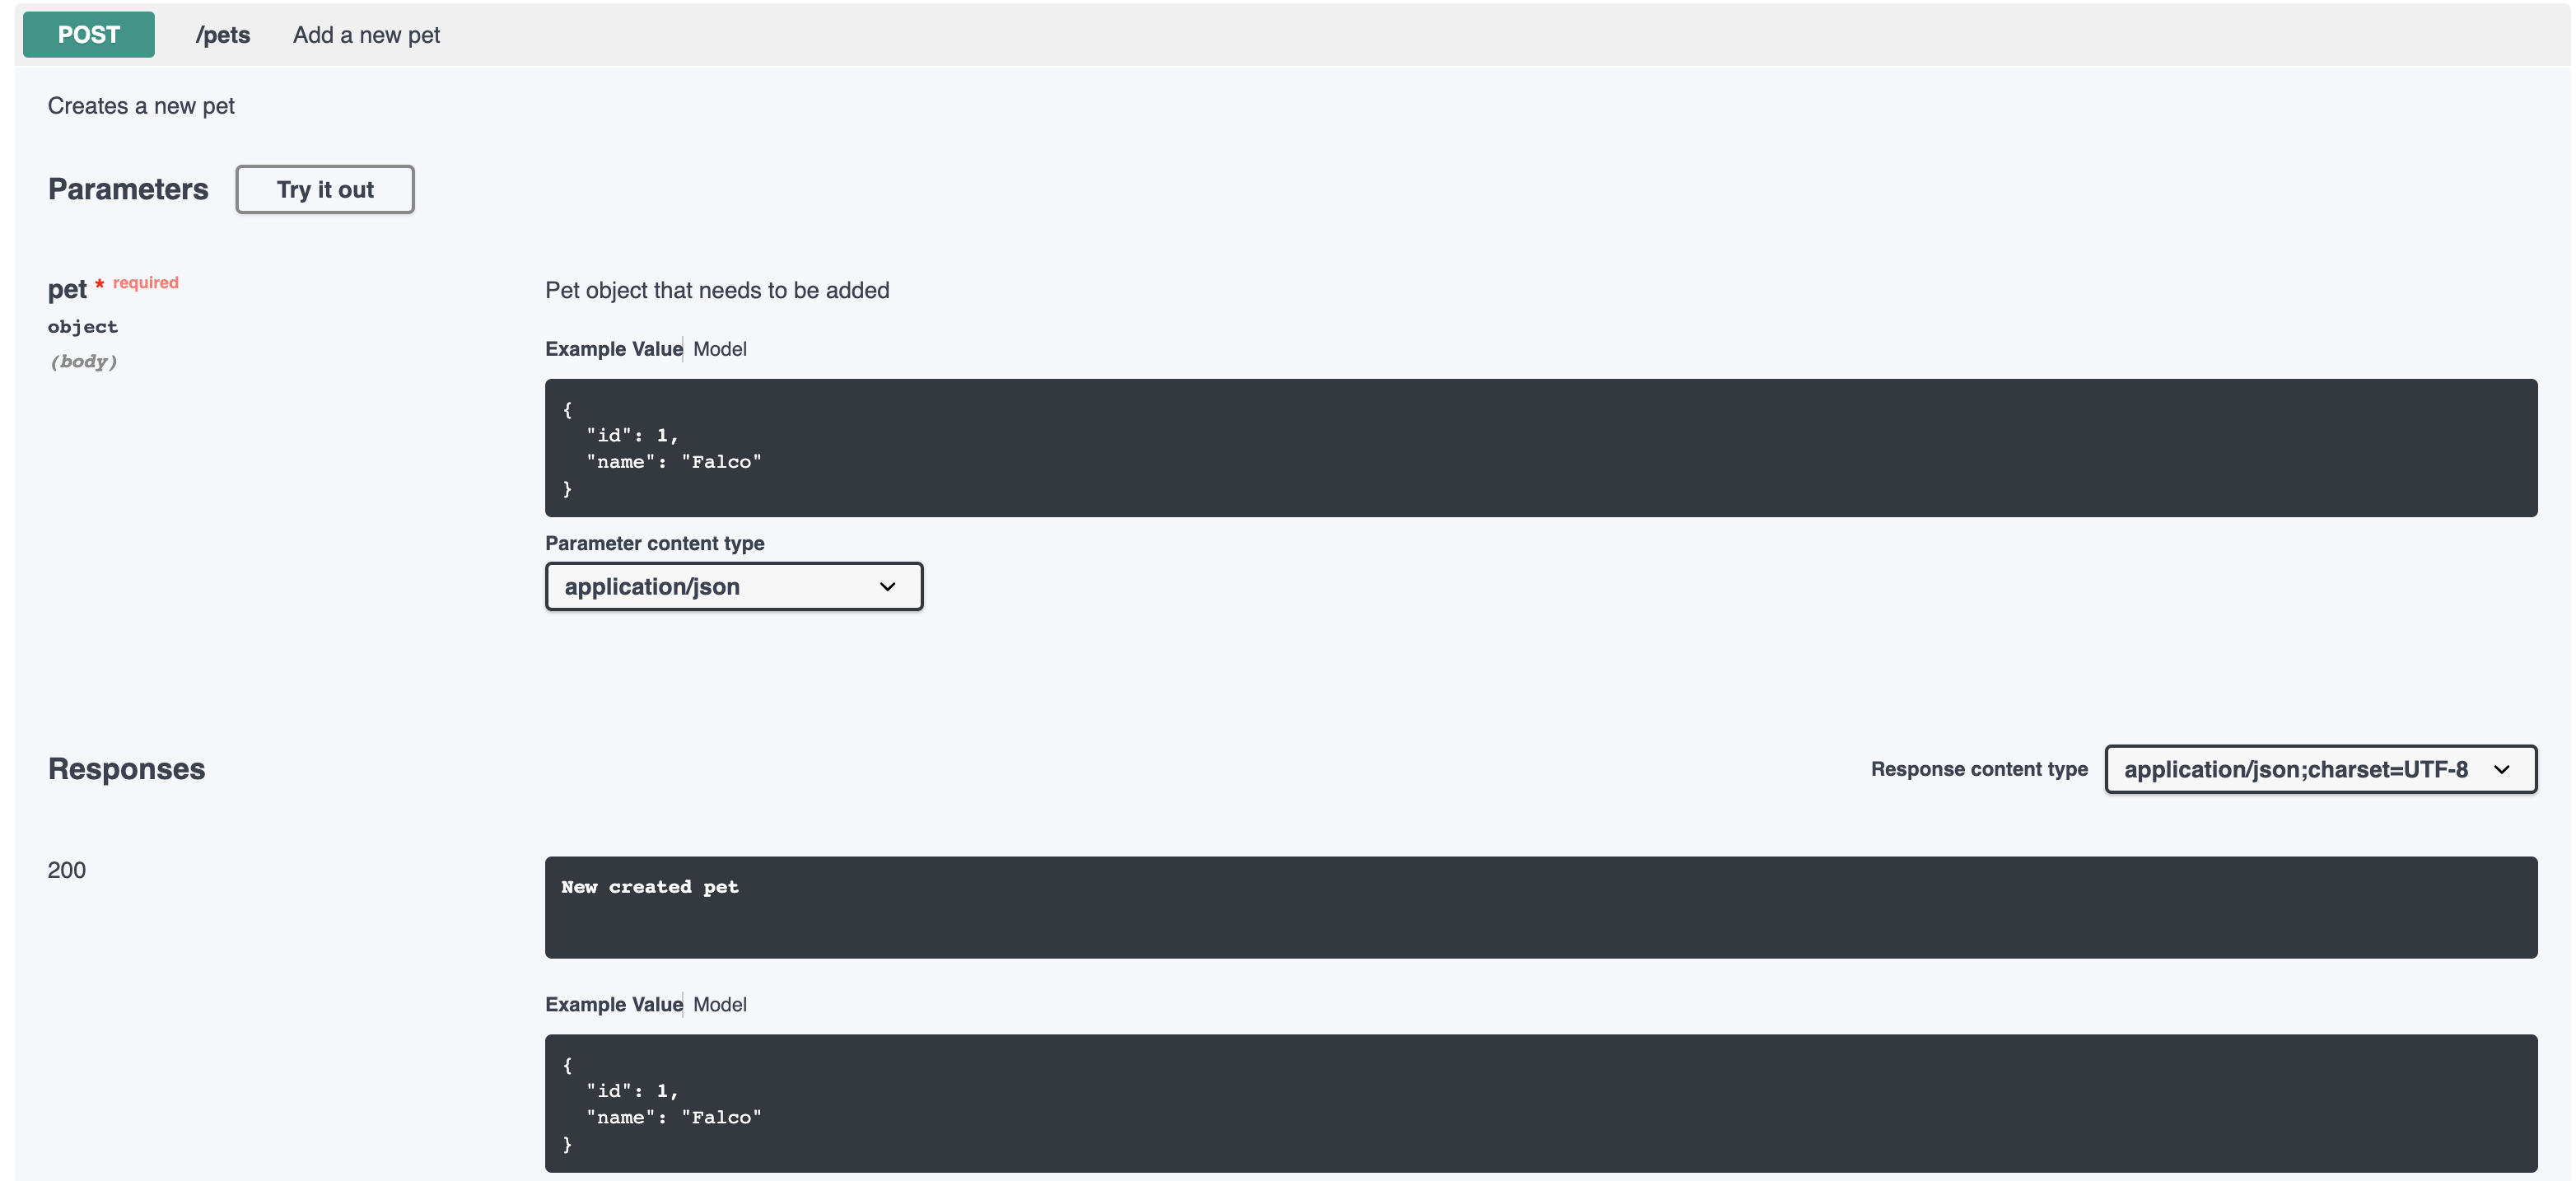
After you click Try it out, the example value in the Request Body field becomes editable.
-
In the Example Value field, change the first
idvalue to a random value. Change the secondnamevalue to a value of your choice, such as the name of a pet. -
Click Execute.
Example:
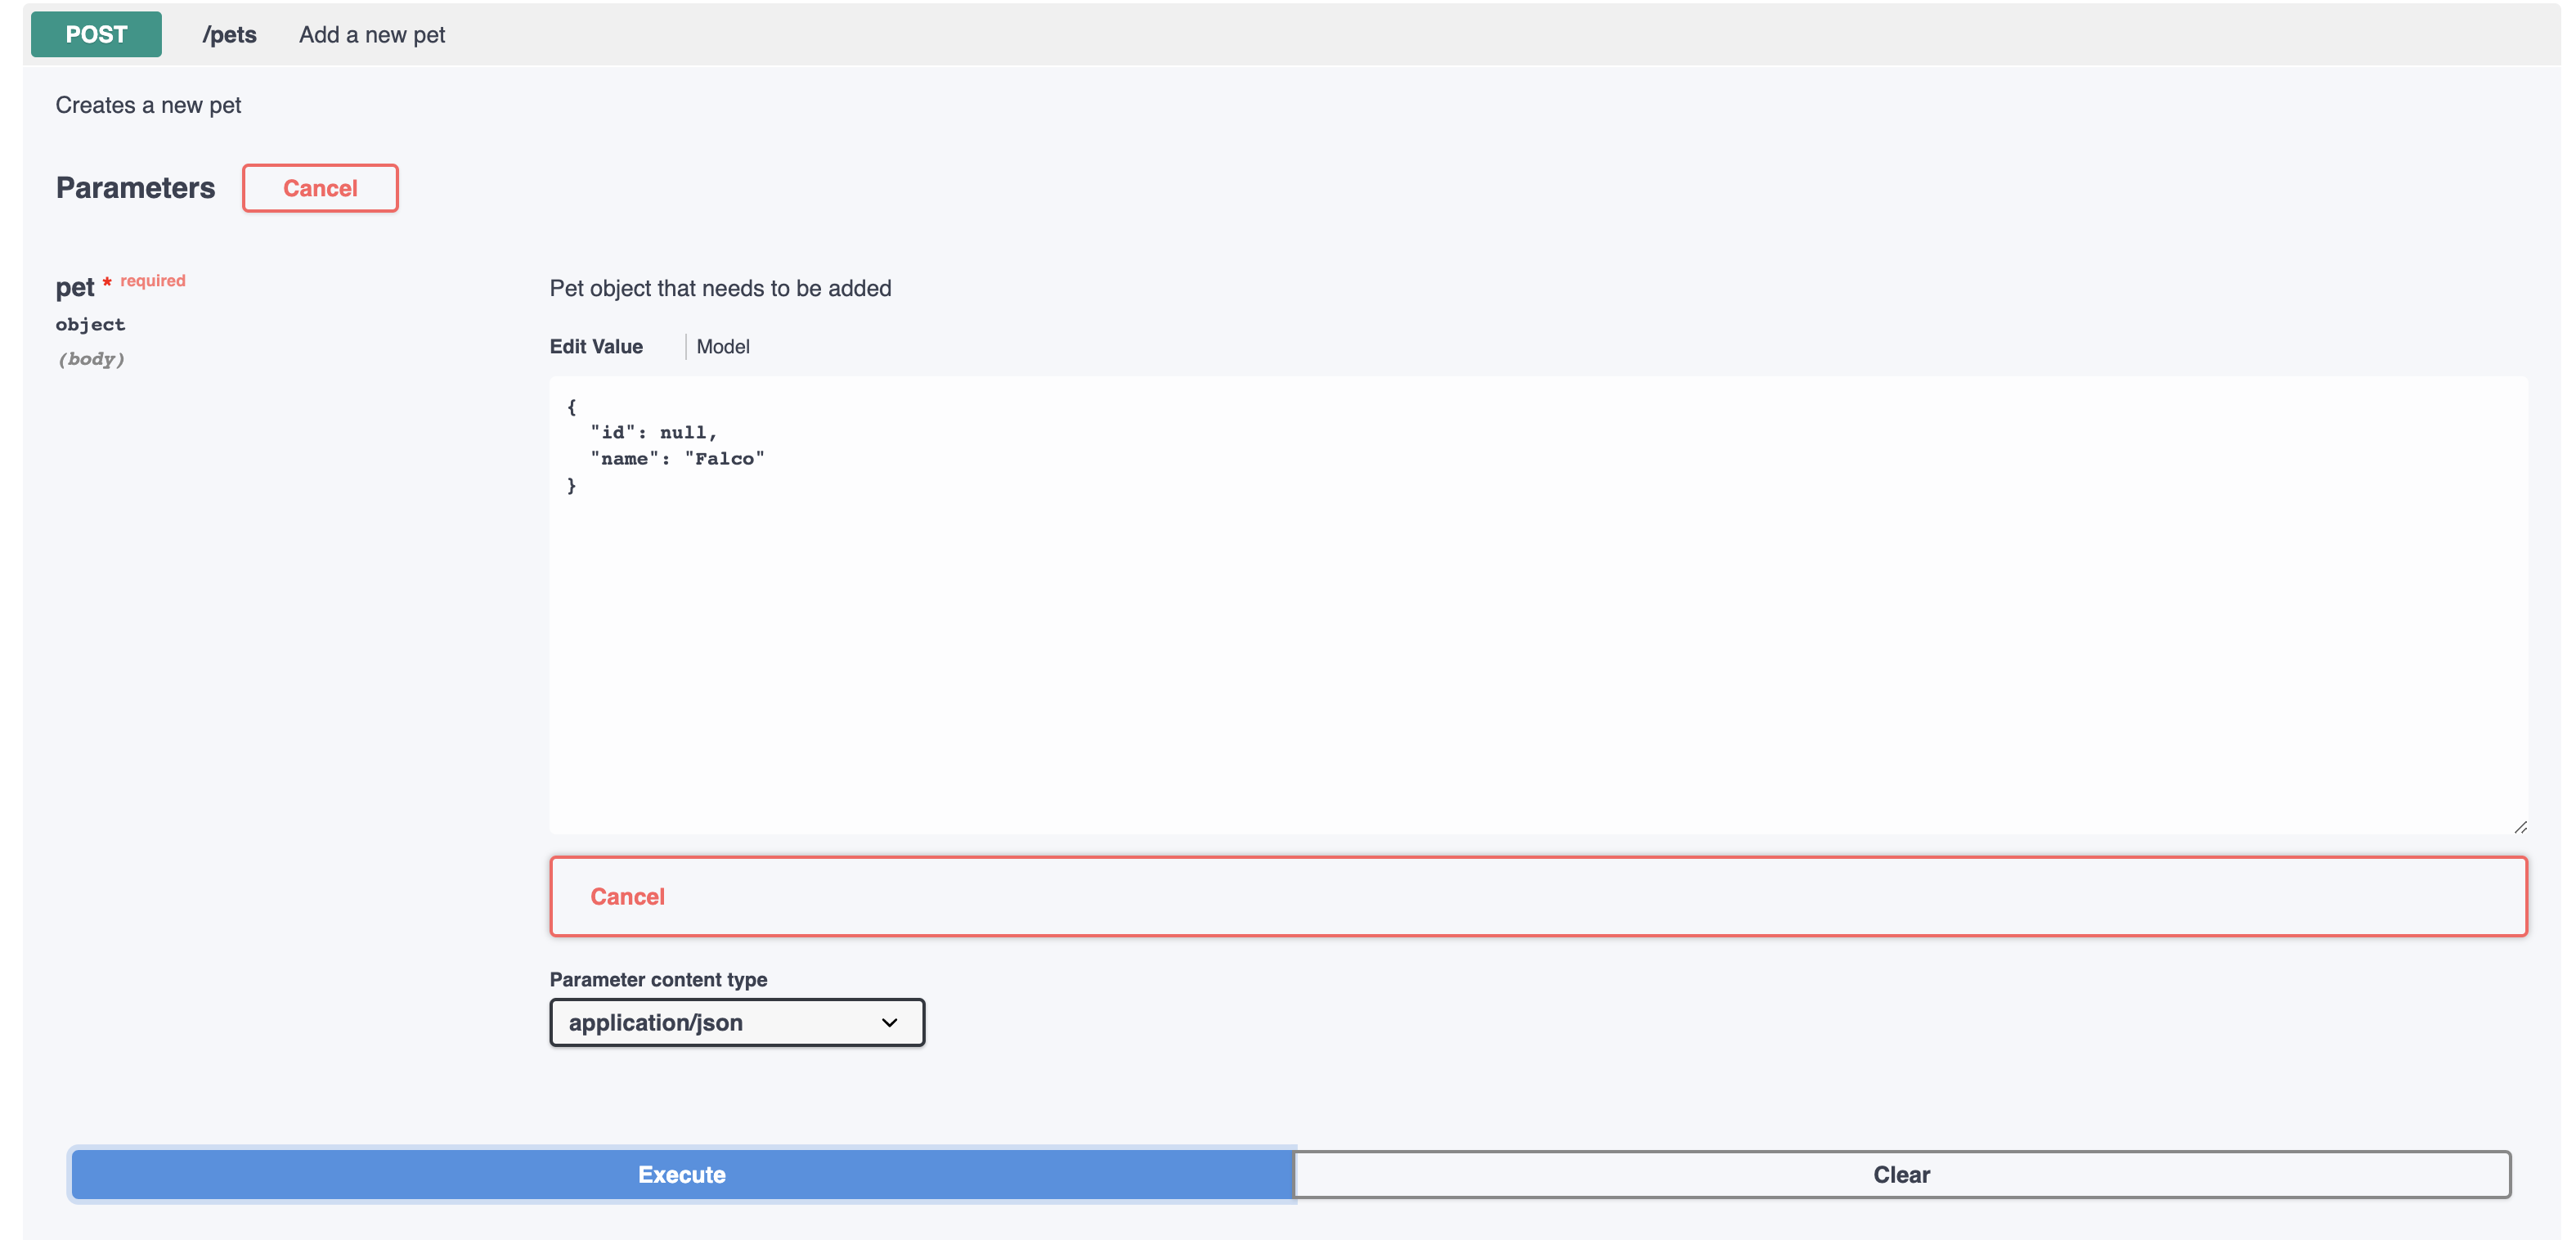
The API Catalog Swagger UI submits the request and shows the curl that was submitted. The Responses section shows the response.
Example:

Static APIs refresh functionality in the API Catalog
The API Catalog enables users to manually refresh static service APIs. Use the Refresh Static APIs option if you change a static service API and want these changes to be visible in the API Catalog without restarting the Discovery Service.
Example:
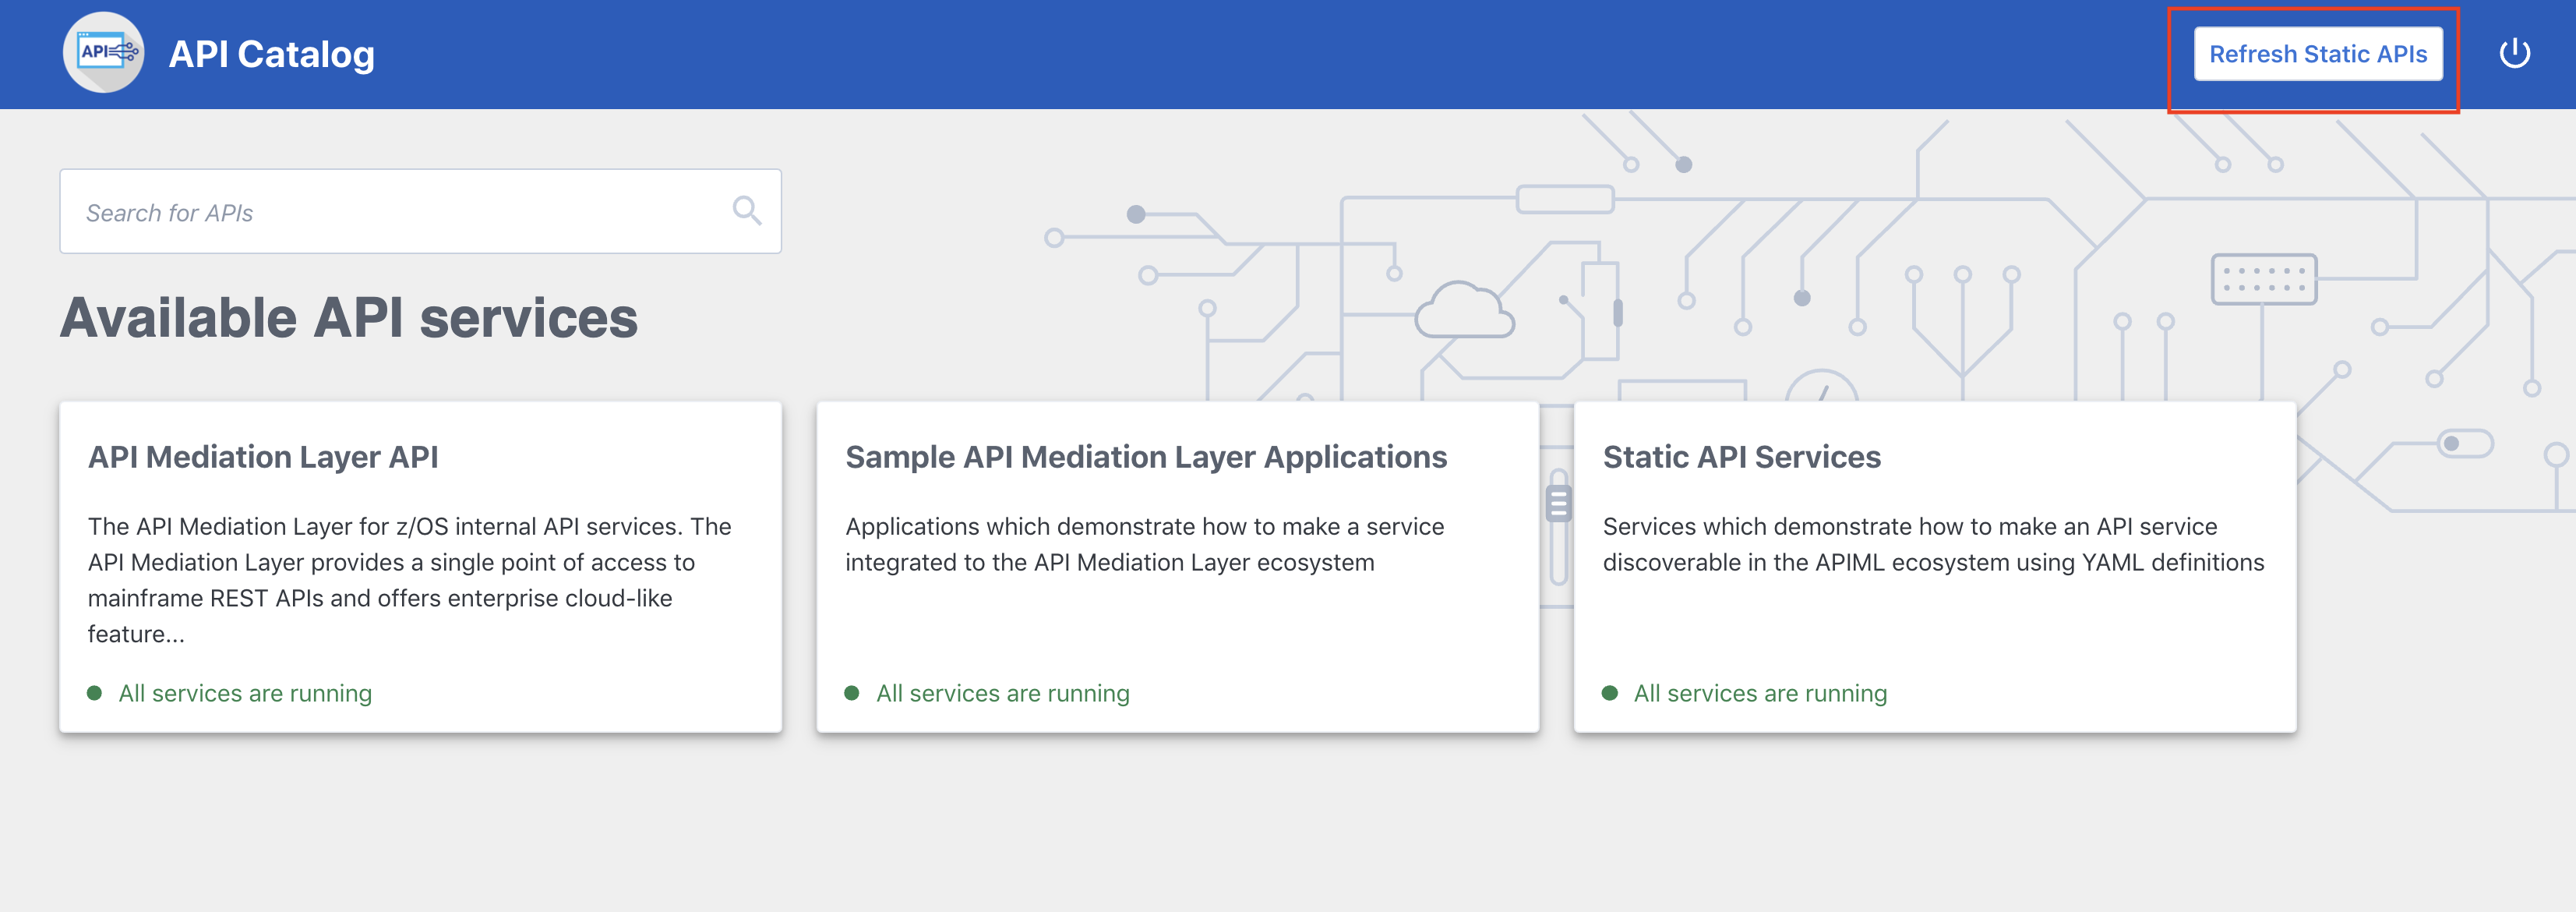
To refresh the status of a static service, click the Refresh option located in the upper right-hand side of the API Catalog UI.
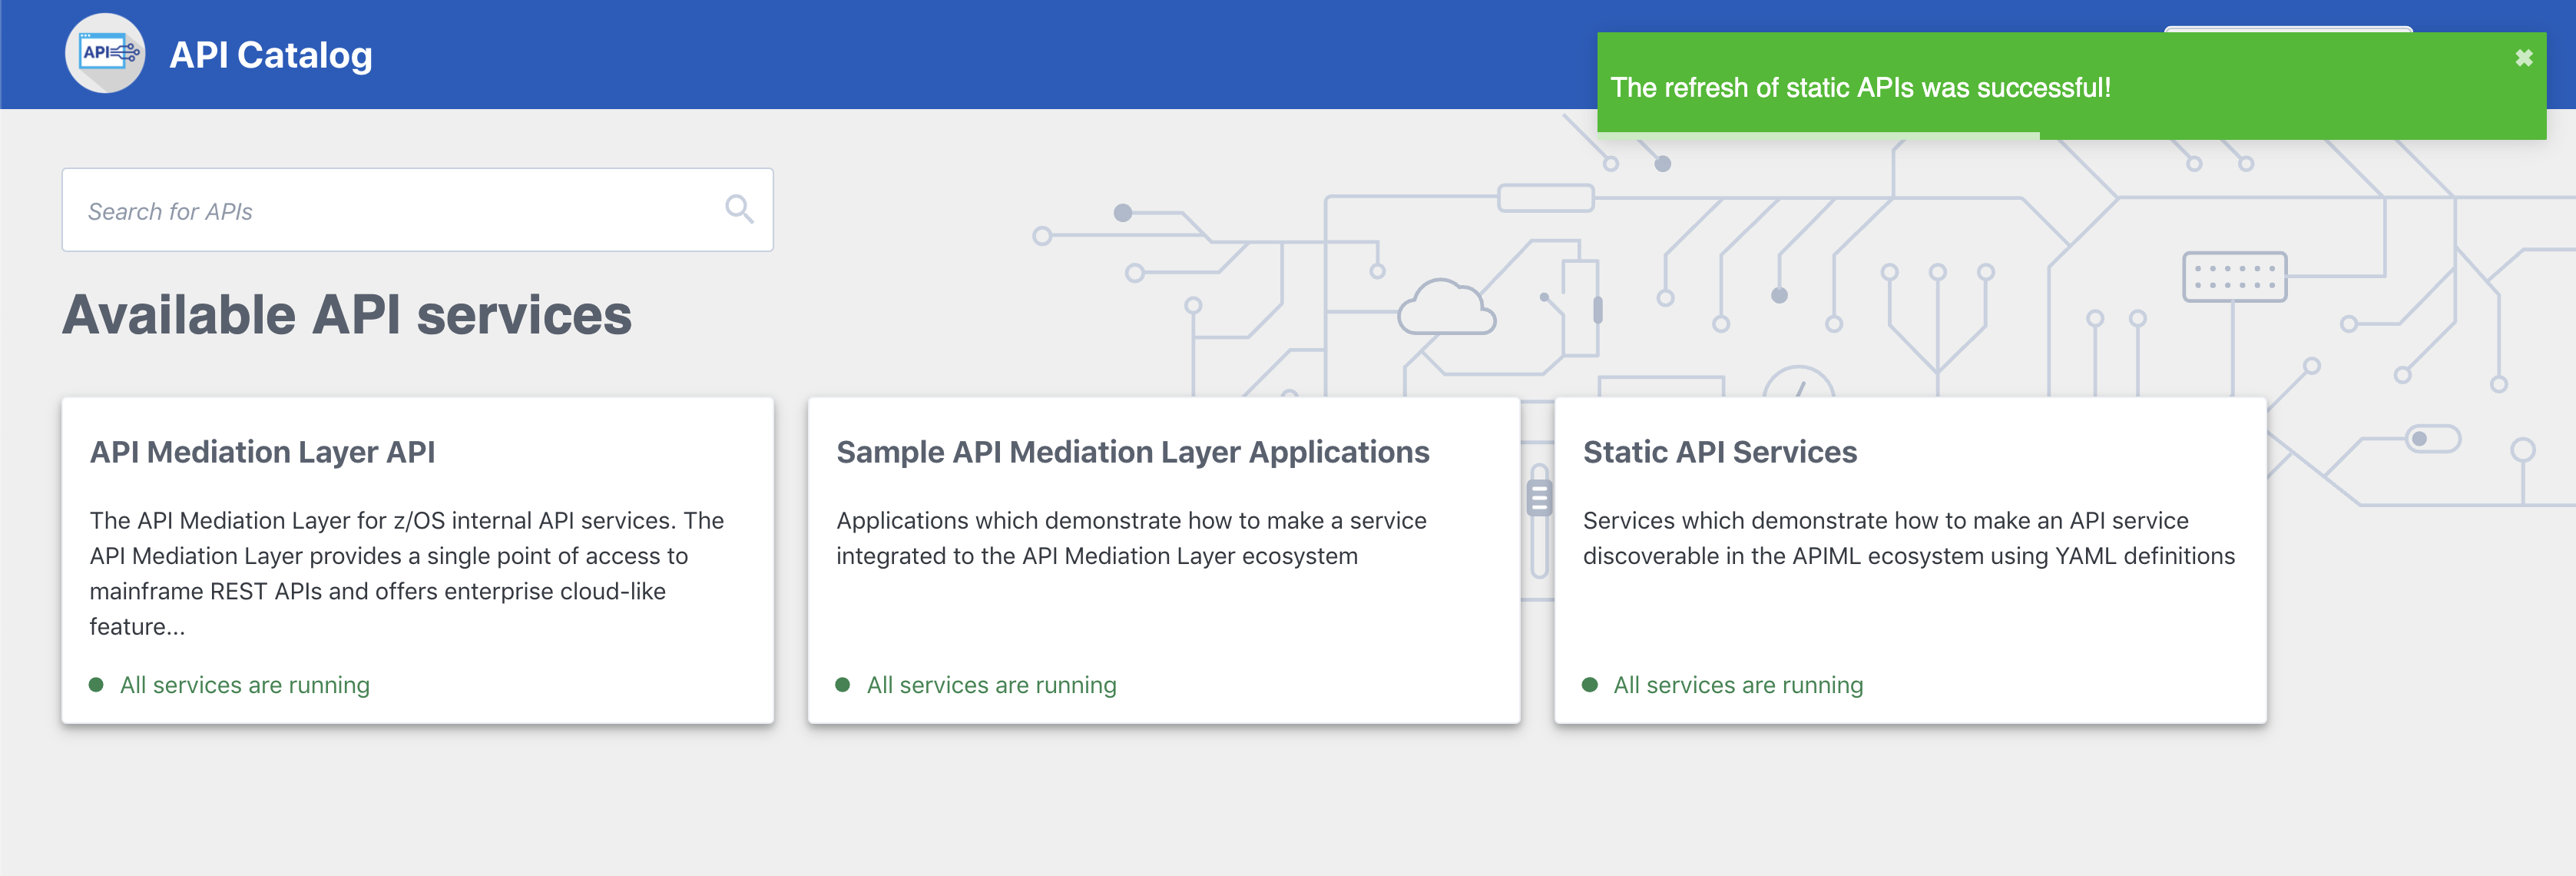
Successful requests return a pop-up notification that displays the message, The refresh of static APIs was successful!.
Example:
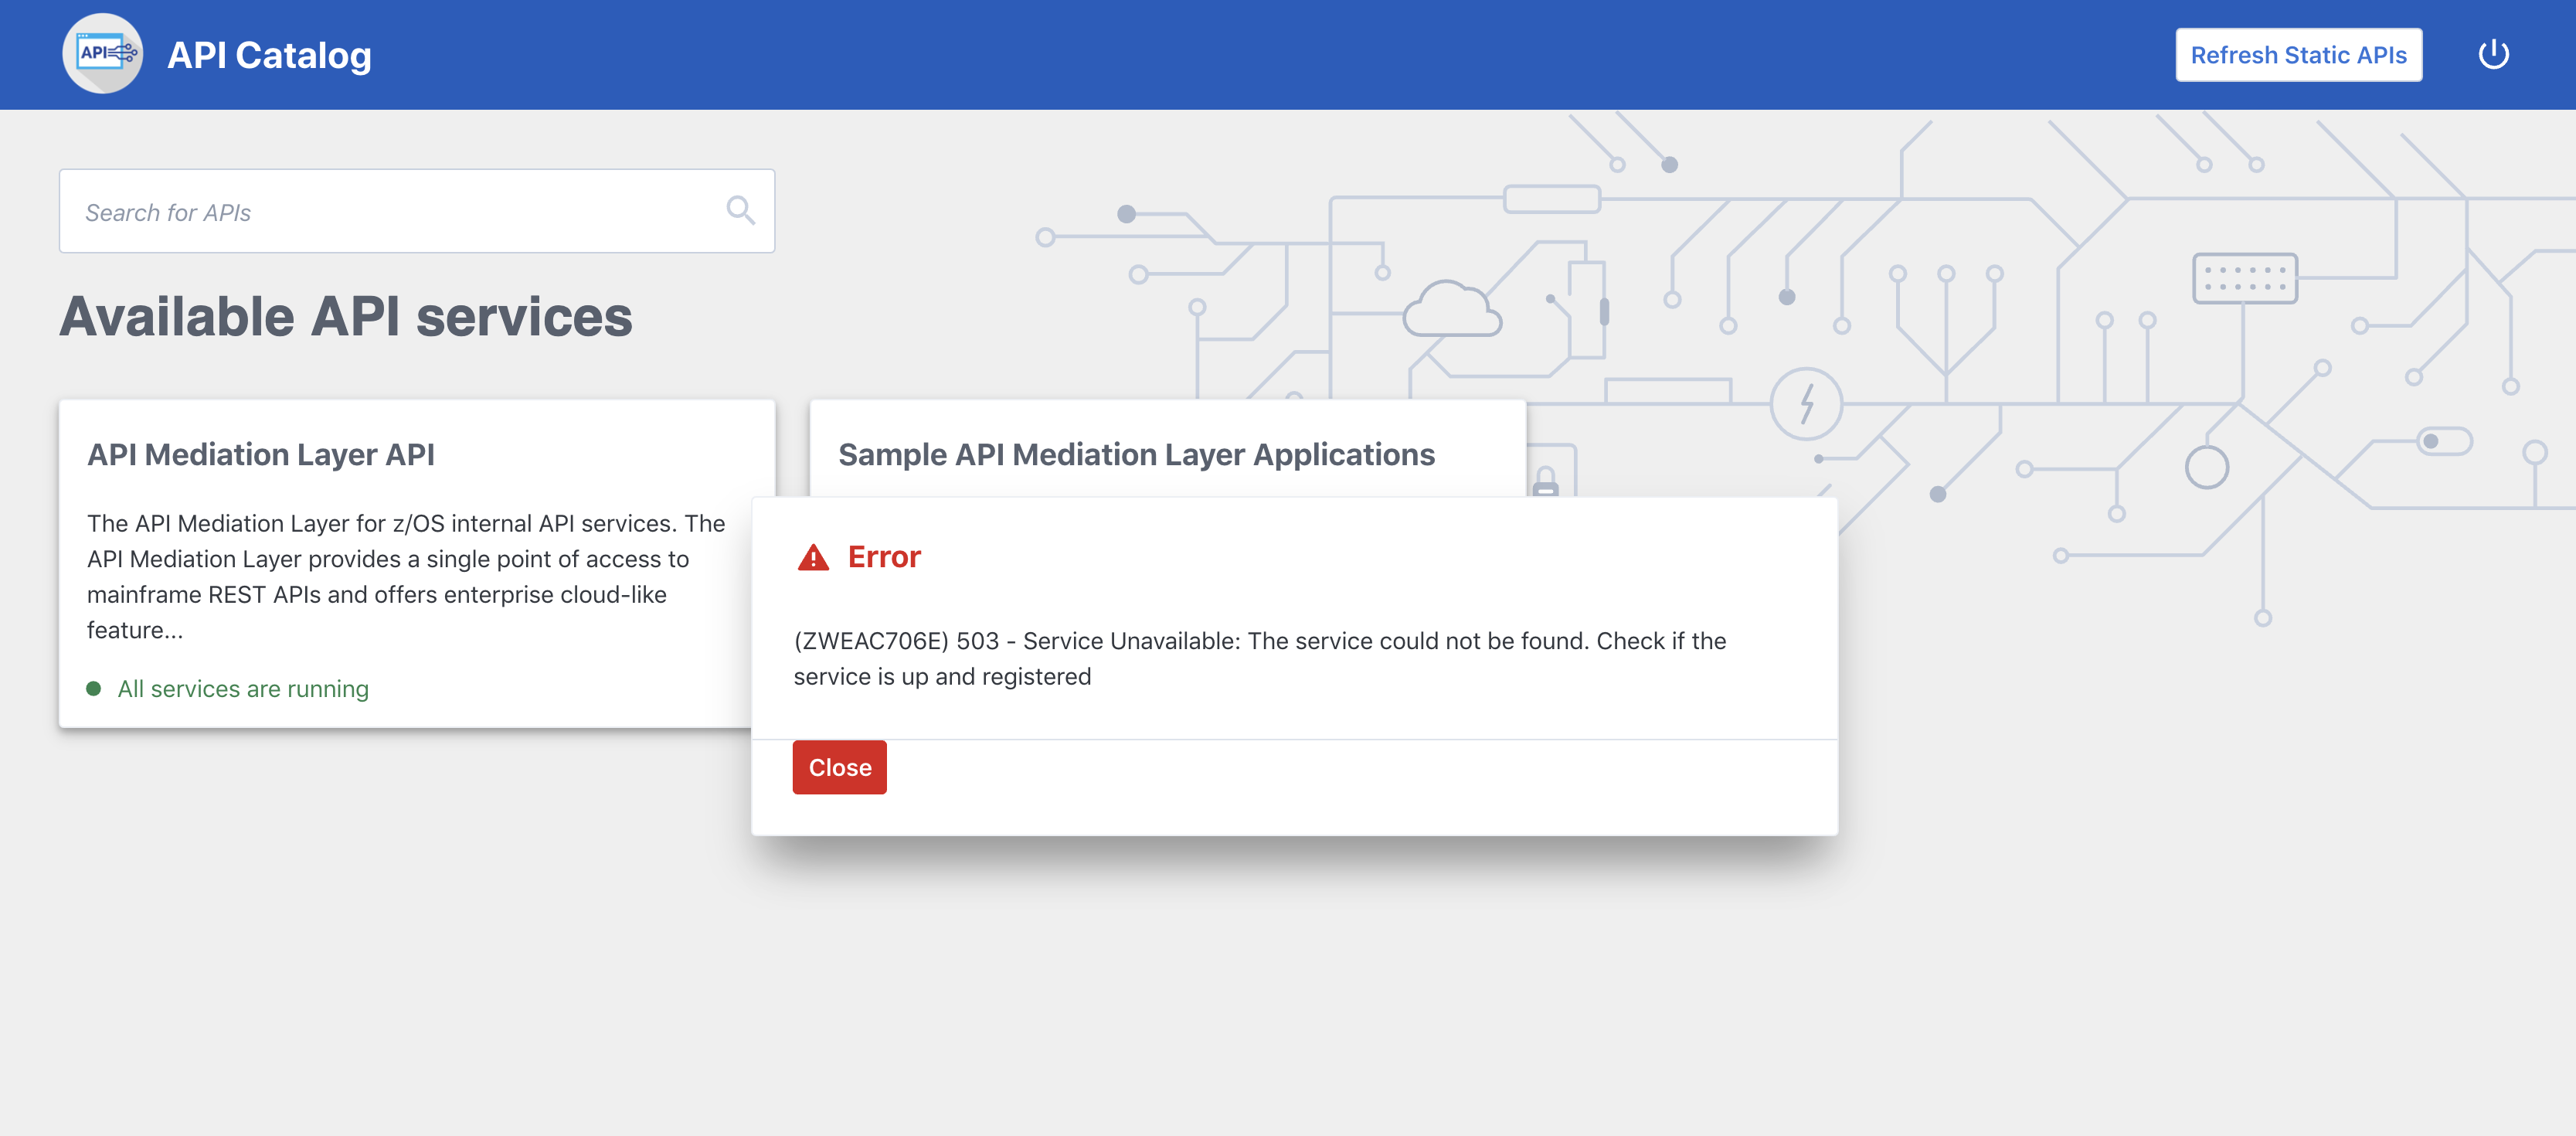
If the request fails, a dialog appears with an error message that describes the cause of the fail.
Example:
Note: The manual Refresh Static APIs option applies only to static service APIs. Changes to the status of services that are onboarded to allow for dynamic discovery require a restart of the specific services where changes are applied. It is not necessary to restart the API Catalog or the Discovery Service.
Change password via API Catalog
In case of expiration of the mainframe password, API Catalog offers the possibility to set a new password, using either the SAF or the z/OSMF provider. For more information about the password change functionality, see Advanced Gateway features configuration.